Managing Lists
In this section we will explain how to create and manage "Lists".
Create a List
In the main Index, look for "Lists":
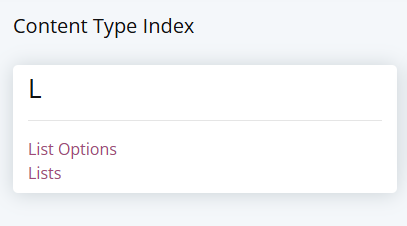
Press the Plus "+" Button, just like creating any other Content Item.
Then choose a label for your List and how you want the list options to
be ordered.
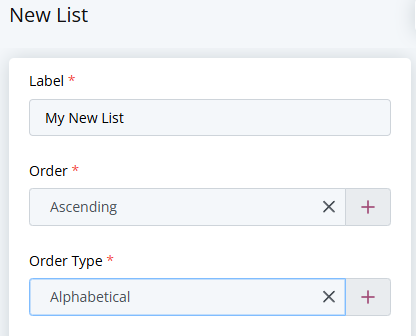
Once you save your List, it will take you to the Edit screen where you
can add, edit or delete List Options.
Edit a List
On the Edit screen for a List, you will see the existing List Options.
For a new list there won't be any options yet:
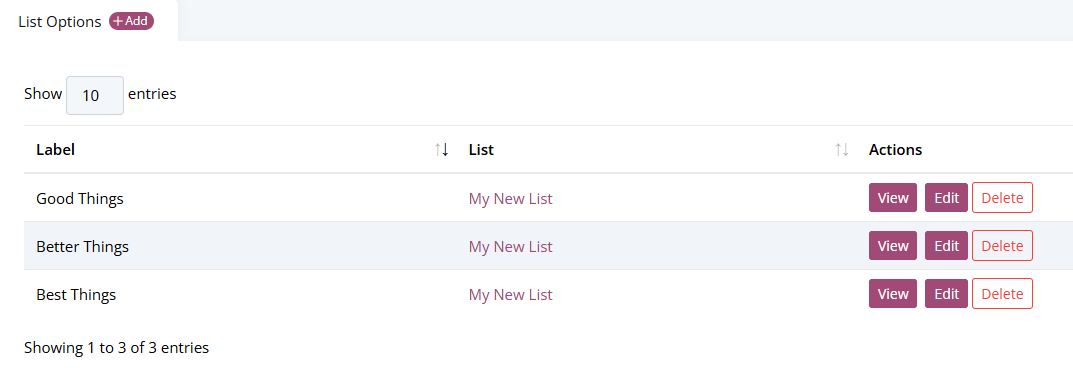
Adding a List Option
Simply press the "Add" button and fill out the Label for your new Option:
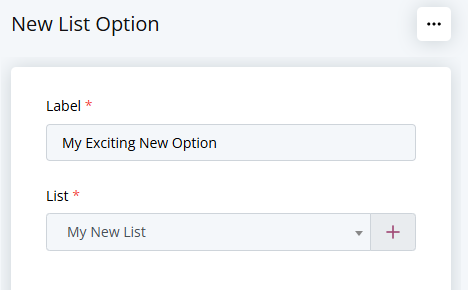
Editing an Existing List Option
You can Edit an existing List Option, but it is important to understand
what this does.
If you change the text for an existing List Option, this will change
the value displayed on any Content Items that have this List Option
selected.
This is useful for correcting a spelling mistake or adding more detail.
If you don't want existing items to be affected, but only want to change
the available options for new items, then you should Delete unwanted Options
and Create new options instead.
Deleting an Existing List Option
If you delete a List Option, then any Content Items that have this
List Option selected will continue to display the correct value.
But, any deleted List Option(s) will not be available to select when
creating new items or changing the selected value for existing items.