Dashboard Builder
Using the dashboard builder you can use the simple drag and drop function to create a dashboard that is specific to you and your role!
Creating a Dashboard
Video Tutorial - Create Dashboard
To access the dashboard builder simply click on the dashboard content type and click the plus button to create a new dashboard. Here you can input the name of your dashboard and save. Now when you go back to the list view you can edit your new dashboard and add all of the content that you require!

This is the dashboard builder!
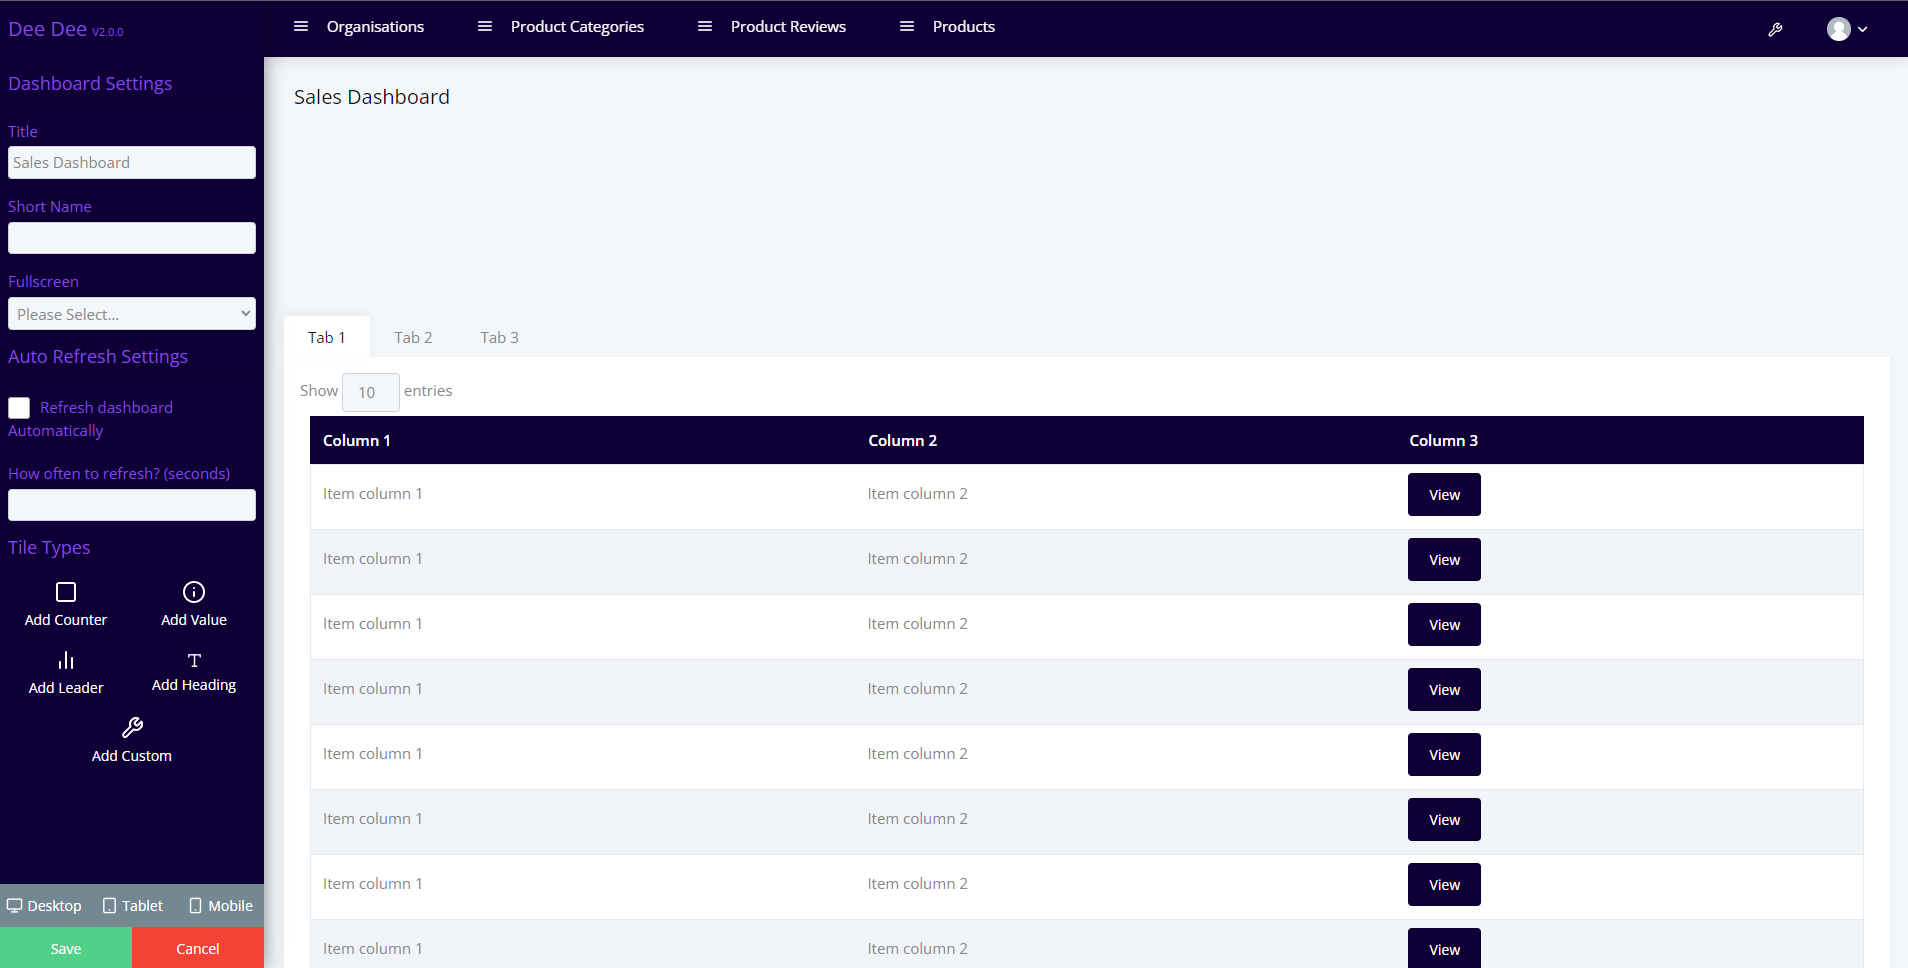
For this example we will go ahead and create a simple Sales Dashboard.
Dashboards use content queries. If you aren't yet familiar with content queries you can learn about them here: Content Queries
I have created some demo sales content queries that I will be using for this dashboard but feel free and use the queries that is specific to you!
The first thing I am going to do is add a counter to the dashboard.
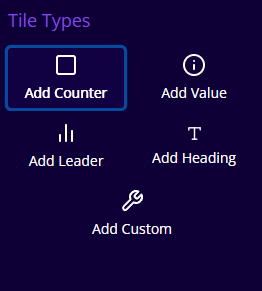
Remember you can drag and drop the counter to resize it!
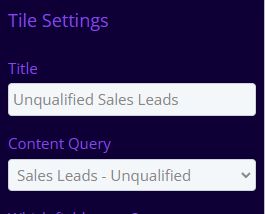
No we have our first tile we will go ahead and give it a name and select the content query we would like to pull information from.
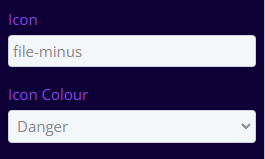
Once you have added your content query you can go ahead and add an icon and an icon colour if you would like to.
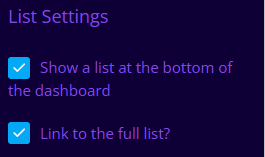
Now I am going to add the content query list underneath the counter so I can easily access what work needs actioning straight from my dashboard.
Here is what the dashboard looks like now!
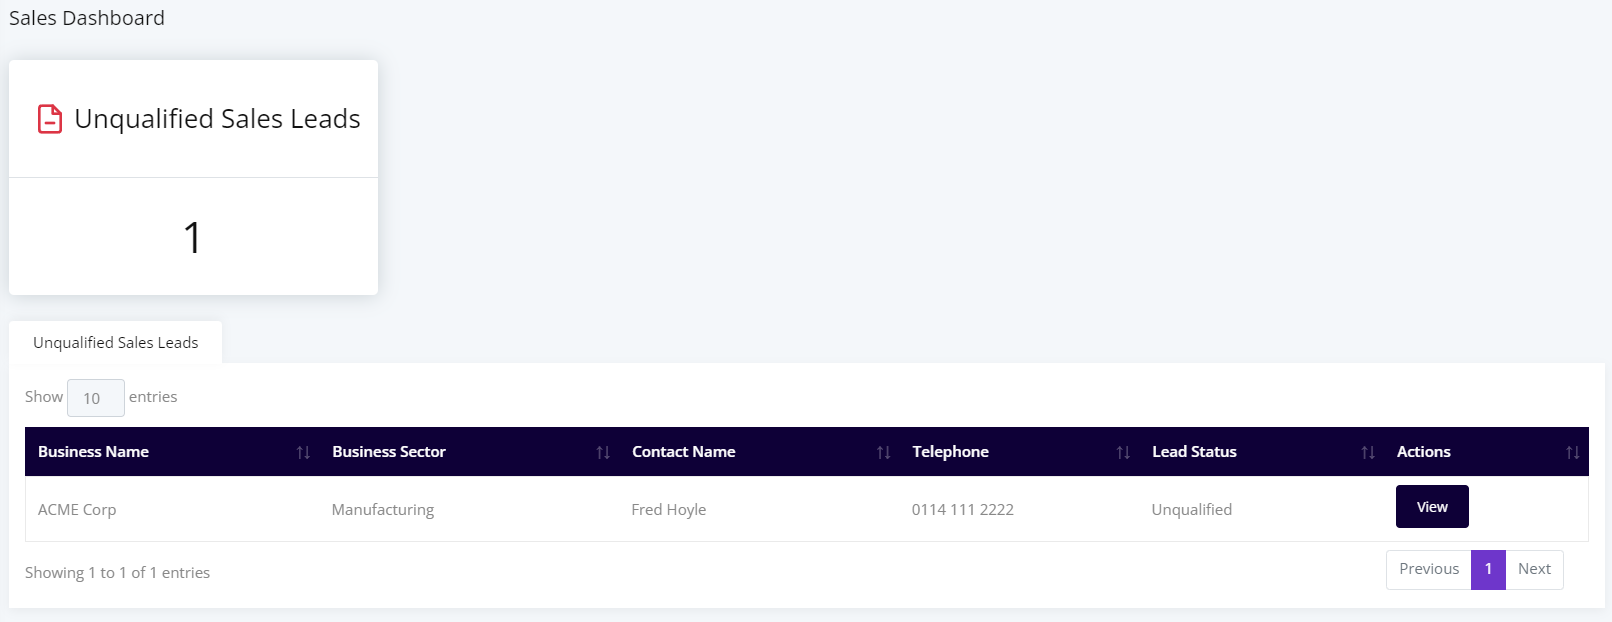
Now you can go ahead and add as many tiles on as you'd like!
If you would like to find out more about the other options in the dashboard builder you can look up the definitions here!